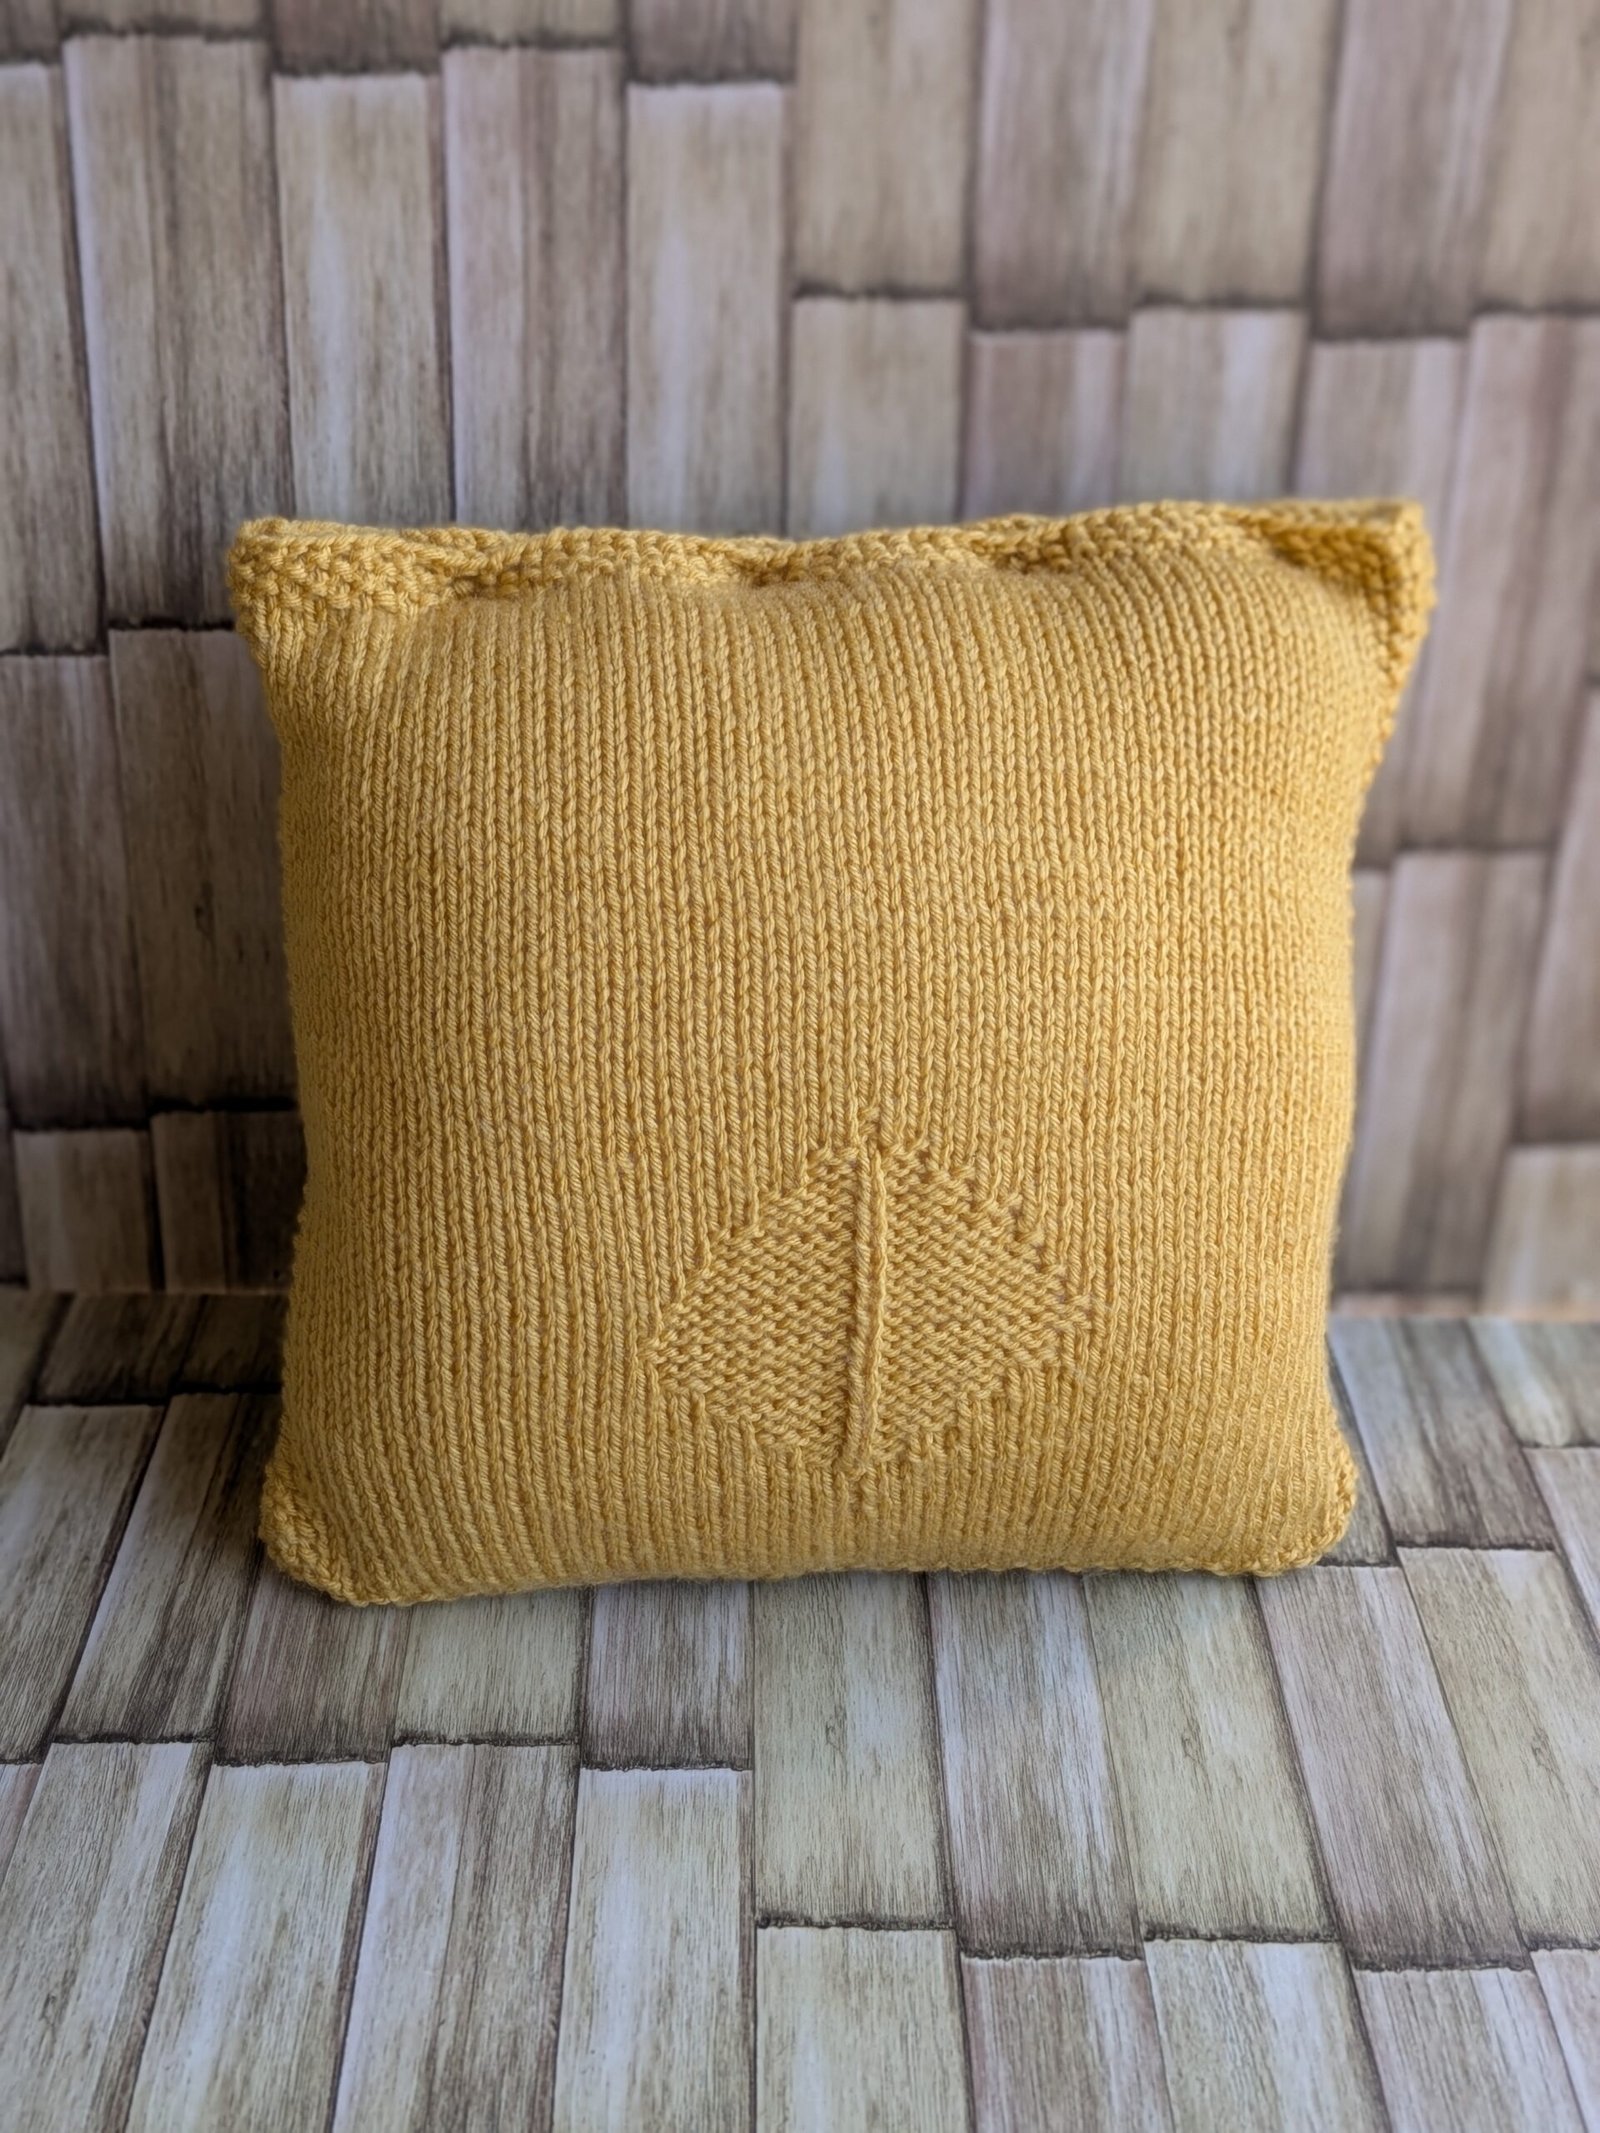
The Goldenrod Leaf Pillow: Free Knit Pillow Cover Pattern
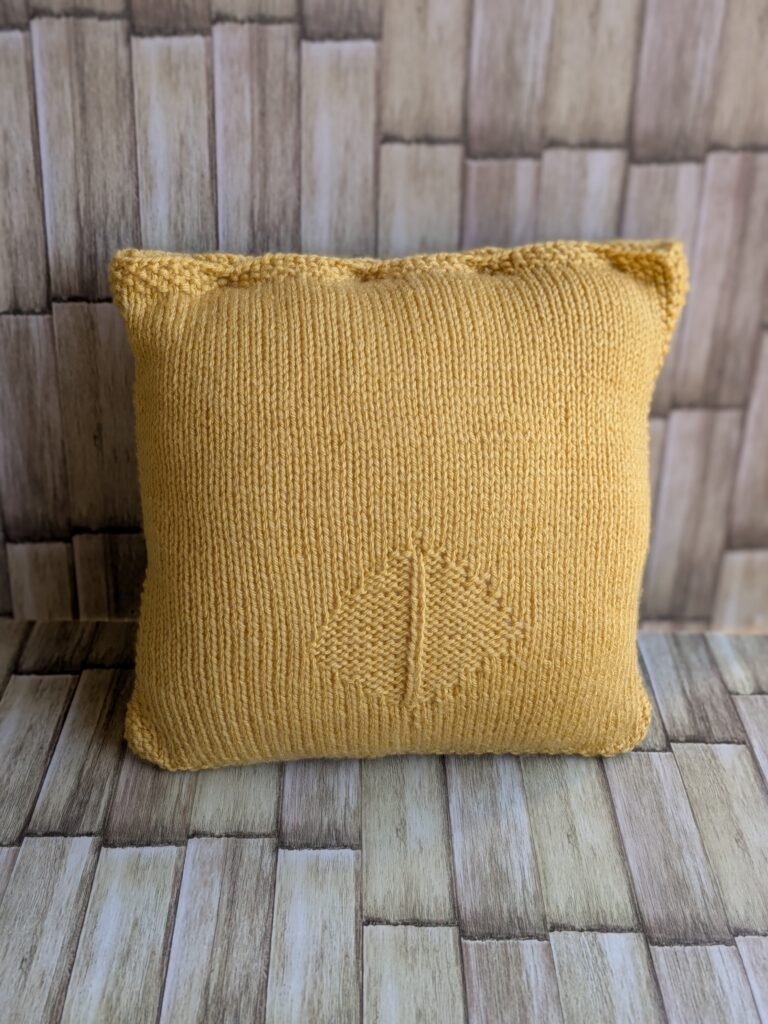
Bring a touch of quiet, modern warmth to your living room with rich texture and clean lines. This removable knit pillow cover pairs a crisp reverse-stockinette leaf motif with simple buttoned finishing for a cozy, stress-free weekend project.
Best of all? This isn’t a fiddly envelope fold with layers that slip around. It is just two straightforward panels joined on three sides, making assembly completely painless. The beauty of this pillow cover is that it is easily removable. Grab your favorite tea, cast on, and let’s make one together!
📌 Jump straight to the pattern if you’re ready to cast on.
Gauge & Finished Size
Gauge: 17.5 sts × 25 rows = 4″ (10 cm) in stockinette stitch on US 8 (5.0 mm) needles
Finished Dimensions: Approx. 13″ × 13″ (designed with negative ease to stretch snugly over a 14″ × 14″ pillow insert)
Skill Level: Advanced Beginner
Materials & Tools
- Yarn: 2 skeins Lion Brand Vanna’s Choice (100% Acrylic; 170 yds / 100 g each) in Mustard (approx. 340 yds total)
- Needles: US 8 (5.0 mm) 24″ or 32″ circular needles (worked flat)
- Notions:
- 4 buttons (approx. 0.75″–1″ / 20–25 mm diameter; natural wood recommended)
- Tapestry / yarn needle
- 14″ × 14″ pillow insert
- Matching sewing thread & hand-sewing needle (for buttons)
- Steam iron or garment steamer & blocking pins
Stitch Key & Abbreviations
- K: Knit
- P: Purl
- RS: Right Side (public-facing side of the pillow)
- WS: Wrong Side (inside face of the pillow)
- Sl 1: Slip 1 stitch purlwise or knitwise as indicated
- PSSO: Pass slipped stitch over
- YO: Yarn over (wrap working yarn around the needle to create an eyelet hole)
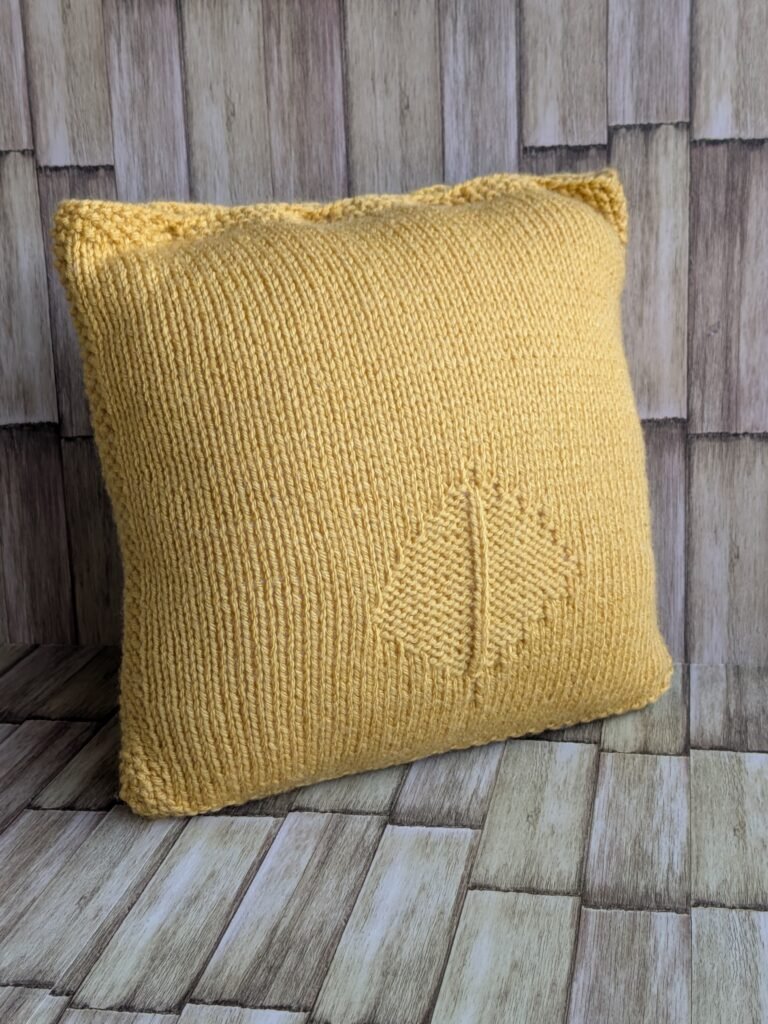
Front Panel (Leaf Relief Motif)
Cast on 57 stitches.
Bottom Border (Seed Stitch)
- Row 1 (RS): *K1, P1; repeat from * to last stitch, K1.
- Row 2 (WS): *K1, P1; repeat from * to last stitch, K1.
- Rows 3–4: Repeat Rows 1 and 2.
Lower Field
- Row 5 (RS): (K1, P1, K1, P1), Knit 49, (P1, K1, P1, K1).
- Row 6 (WS): (K1, P1, K1, P1), Purl 49, (P1, K1, P1, K1).
- Rows 7–14: Repeat Rows 5 and 6 four more times.
Leaf Motif Section
- Row 15 (RS): (K1, P1, K1, P1), Knit 24, P1, Knit 24, (P1, K1, P1, K1).
- Row 16 (WS): (K1, P1, K1, P1), Purl 24, K1, Purl 24, (P1, K1, P1, K1).
- Row 17 (RS): (K1, P1, K1, P1), Knit 24, P1, Knit 24, (P1, K1, P1, K1).
- Row 18 (WS): (K1, P1, K1, P1), Purl 24, K1, Purl 24, (P1, K1, P1, K1).
- Row 19 (RS): (K1, P1, K1, P1), Knit 22, P2, K1, P2, Knit 22, (P1, K1, P1, K1).
- Row 20 (WS): (K1, P1, K1, P1), Purl 22, K2, P1, K2, Purl 22, (P1, K1, P1, K1).
- Row 21 (RS): (K1, P1, K1, P1), Knit 20, P4, K1, P4, Knit 20, (P1, K1, P1, K1).
- Row 22 (WS): (K1, P1, K1, P1), Purl 20, K4, P1, K4, Purl 20, (P1, K1, P1, K1).
- Row 23 (RS): (K1, P1, K1, P1), Knit 18, P6, K1, P6, Knit 18, (P1, K1, P1, K1).
- Row 24 (WS): (K1, P1, K1, P1), Purl 18, K6, P1, K6, Purl 18, (P1, K1, P1, K1).
- Row 25 (RS): (K1, P1, K1, P1), Knit 16, P8, K1, P8, Knit 16, (P1, K1, P1, K1).
- Row 26 (WS): (K1, P1, K1, P1), Purl 16, K8, P1, K8, Purl 16, (P1, K1, P1, K1).
- Row 27 (RS): (K1, P1, K1, P1), Knit 15, P9, K1, P9, Knit 15, (P1, K1, P1, K1).
- Row 28 (WS): (K1, P1, K1, P1), Purl 15, K9, P1, K9, Purl 15, (P1, K1, P1, K1).
- Row 29 (RS): (K1, P1, K1, P1), Knit 16, P8, K1, P8, Knit 16, (P1, K1, P1, K1).
- Row 30 (WS): (K1, P1, K1, P1), Purl 16, K8, P1, K8, Purl 16, (P1, K1, P1, K1).
- Row 31 (RS): (K1, P1, K1, P1), Knit 17, P7, K1, P7, Knit 17, (P1, K1, P1, K1).
- Row 32 (WS): (K1, P1, K1, P1), Purl 17, K7, P1, K7, Purl 17, (P1, K1, P1, K1).
- Row 33 (RS): (K1, P1, K1, P1), Knit 18, P6, K1, P6, Knit 18, (P1, K1, P1, K1).
- Row 34 (WS): (K1, P1, K1, P1), Purl 18, K6, P1, K6, Purl 18, (P1, K1, P1, K1).
- Row 35 (RS): (K1, P1, K1, P1), Knit 20, P4, K1, P4, Knit 20, (P1, K1, P1, K1).
- Row 36 (WS): (K1, P1, K1, P1), Purl 20, K4, P1, K4, Purl 20, (P1, K1, P1, K1).
- Row 37 (RS): (K1, P1, K1, P1), Knit 22, P2, K1, P2, Knit 22, (P1, K1, P1, K1).
- Row 38 (WS): (K1, P1, K1, P1), Purl 22, K2, P1, K2, Purl 22, (P1, K1, P1, K1).
- Row 39 (RS): (K1, P1, K1, P1), Knit 24, P1, Knit 24, (P1, K1, P1, K1).
- Row 40 (WS): (K1, P1, K1, P1), Purl 24, K1, Purl 24, (P1, K1, P1, K1).
Upper Field
- Row 41 (RS): (K1, P1, K1, P1), Knit 49, (P1, K1, P1, K1).
- Row 42 (WS): (K1, P1, K1, P1), Purl 49, (P1, K1, P1, K1).
- Rows 43–76: Repeat Rows 41 and 42 until the panel measures 12.25″ from the cast-on edge, ending after a WS row.
Top Border
- Rows 77–80: *K1, P1; repeat from * to last stitch, K1.
- Bind Off: Bind off all 57 stitches in pattern (K1, P1 order). Cut yarn, leaving an 18″ tail.
Back Panel (With Buttonhole Band)
Cast on 57 stitches.
Main Body
- Row 1 (RS): *K1, P1; repeat from * to last stitch, K1.
- Row 2 (WS): *K1, P1; repeat from * to last stitch, K1.
- Rows 3–4: Repeat Rows 1 and 2.
- Row 5 (RS): (K1, P1, K1, P1), Knit 49, (P1, K1, P1, K1).
- Row 6 (WS): (K1, P1, K1, P1), Purl 49, (P1, K1, P1, K1).
- Rows 7–72: Repeat Rows 5 and 6 until the piece measures 11.5″ from the cast-on edge, ending after a WS row.
Buttonhole Band
Rows 73–74: *K1, P1; repeat from * to last stitch, K1.
Row 75 (Buttonhole Row – RS):
Left Border (8 sts): K1, P1, K1, P1, K1, P1, K1, P1
Buttonhole 1 (2 sts): With yarn in back, slip 1 knitwise. P1 into the next stitch. PSSO. YO.
Spacer 1 (11 sts): K1, P1, K1, P1, K1, P1, K1, P1, K1, P1, K1
Buttonhole 2 (2 sts): With yarn in front, slip 1 purlwise. K1 into the next stitch. PSSO. YO.
Spacer 2 (11 sts): P1, K1, P1, K1, P1, K1, P1, K1, P1, K1, P1
Buttonhole 3 (2 sts): With yarn in back, slip 1 knitwise. P1 into the next stitch. PSSO. YO.
Spacer 3 (11 sts): K1, P1, K1, P1, K1, P1, K1, P1, K1, P1, K1
Buttonhole 4 (2 sts): With yarn in front, slip 1 purlwise. K1 into the next stitch. PSSO. YO.
Right Border (8 sts): P1, K1, P1, K1, P1, K1, P1, K1
Row 76 (Return Row – WS): Turn your work (the first stitch presents as a purl bump, so we begin with a knit):
- First 8 sts: K1, P1, K1, P1, K1, P1, K1, P1
- Buttonhole 4: Knit the YO (K1), then purl the decreased stitch (P1).
- Spacer (11 sts): [K1, P1] 5 times, K1.
- Buttonhole 3: Purl the YO (P1), then knit the decreased stitch (K1).
- Spacer (11 sts): [P1, K1] 5 times, P1.
- Buttonhole 2: Knit the YO (K1), then purl the decreased stitch (P1).
- Spacer (11 sts): [K1, P1] 5 times, K1.
- Buttonhole 1: Purl the YO (P1), then knit the decreased stitch (K1).
- Final 8 sts: [P1, K1] 4 times.
Rows 77–78: *K1, P1; repeat from * to last stitch, K1.
Bind Off: Bind off all 57 stitches in pattern. Cut yarn, leaving a 45″–50″ tail to use for side seaming.
Assembly & Finishing
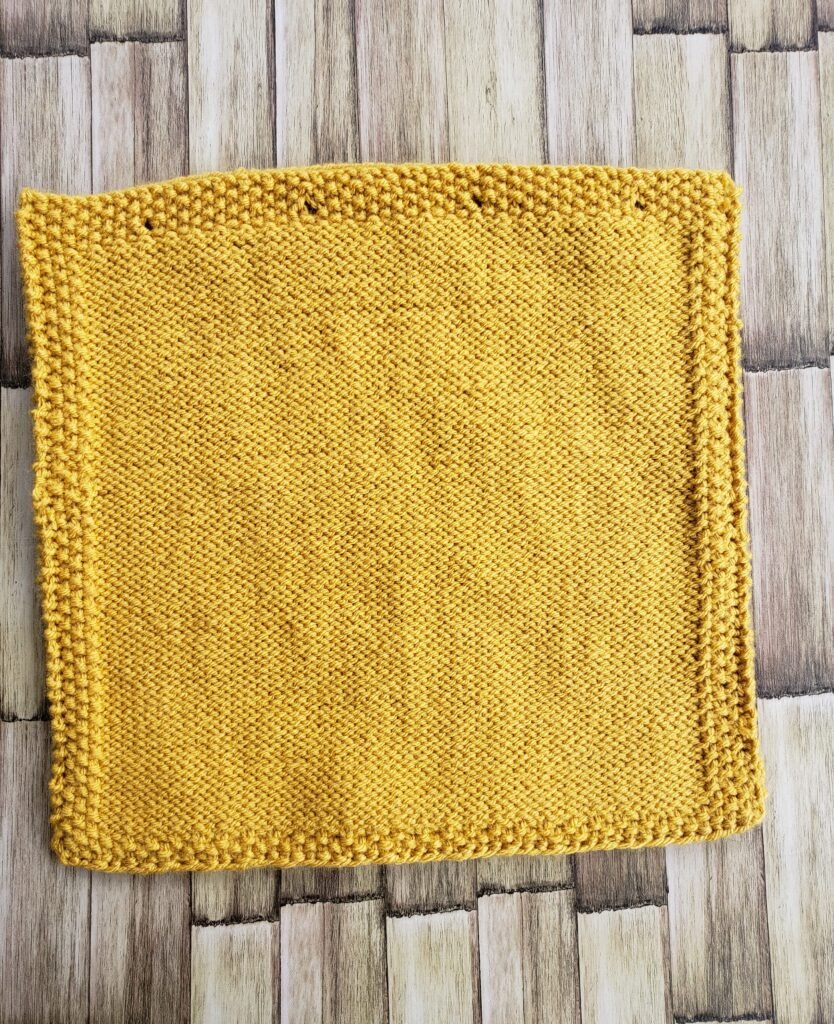
1. Steam Blocking
Steam blocking opens up the stitch definition and prevents the stockinette edges from curling during seaming:
- Pin both panels flat to 13″ × 13″ squares on your blocking mat.
- Hover your steam iron or steamer 1 to 1.5 inches above the fabric, allowing the steam to relax the acrylic fibers without touching the iron plate directly to the yarn.
- Pat the stitches gently with your hands and allow both panels to dry and cool completely.
2. Seaming the Three Closed Edges
- Stack Panels: Lay the Front Panel flat with RS facing UP (leaf motif visible). Place the Back Panel on top with RS facing DOWN (WS facing you).
- Align & Pin: Match the bottom edges and the two side edges together evenly. The buttonhole band on the back panel will align directly with the top seed stitch border of the front panel. Pin along the bottom and both side edges. Leave the top buttonhole edge open.
- Sew with Backstitch:
- Thread your tapestry needle with the long bind-off tail (or a fresh length of yarn).
- Secure the upper corner juncture with 2–3 small reinforcing stitches.
- Work a sturdy backstitch roughly 1 stitch in from the edge down the first side, straight across the bottom cast-on edge, and up the opposite side to the other top corner.
- Turn: Reach inside the open top and turn the pillow cover right-side out. Poke out the two bottom corners so they are crisp and square.
3. Button Placement & Thread Shank
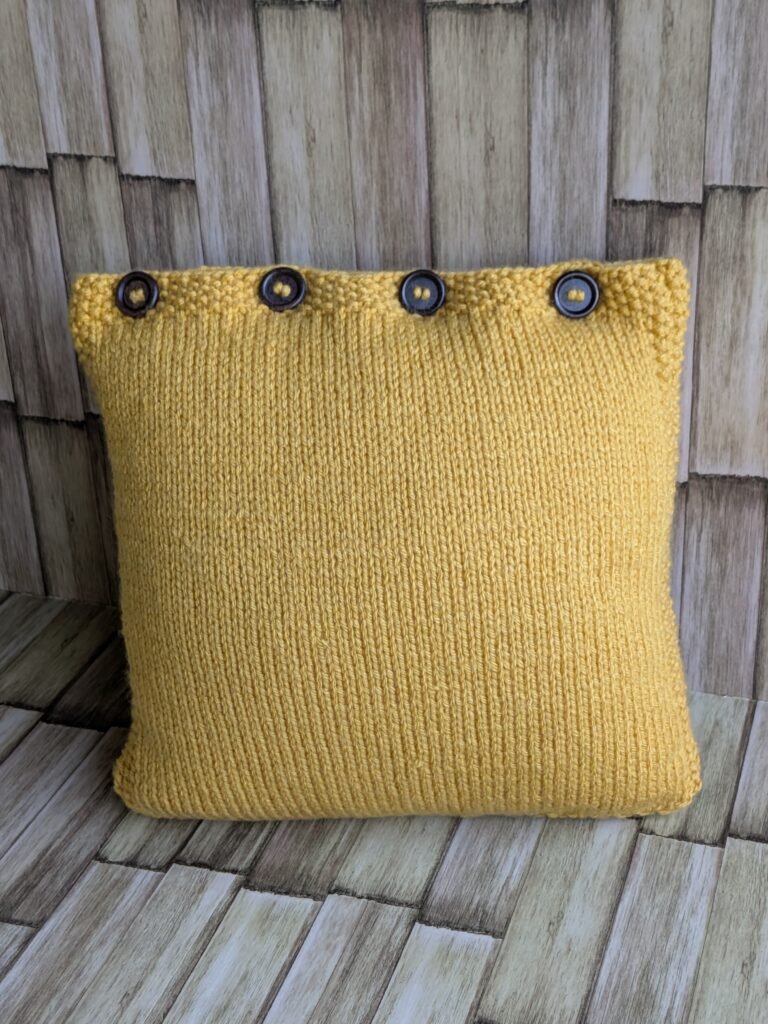
- Smooth the open top borders flush against one another.
- Insert pins through the center of each of the 4 buttonholes onto the front panel’s top border beneath to mark placement.
- Thread a hand-sewing needle with matching sewing thread.
- Place a toothpick across the top of a button and stitch through the button holes and knitted fabric over the toothpick 4 to 5 times.
- Remove the toothpick, pull the button gently upward, and wrap the working thread firmly 3 to 4 times around the thread column underneath to create a sturdy thread shank.
- Knot on the inside. Repeat for all 4 buttons.
- Insert your 14″ × 14″ pillow form through the top opening, fasten the buttons, and fluff!
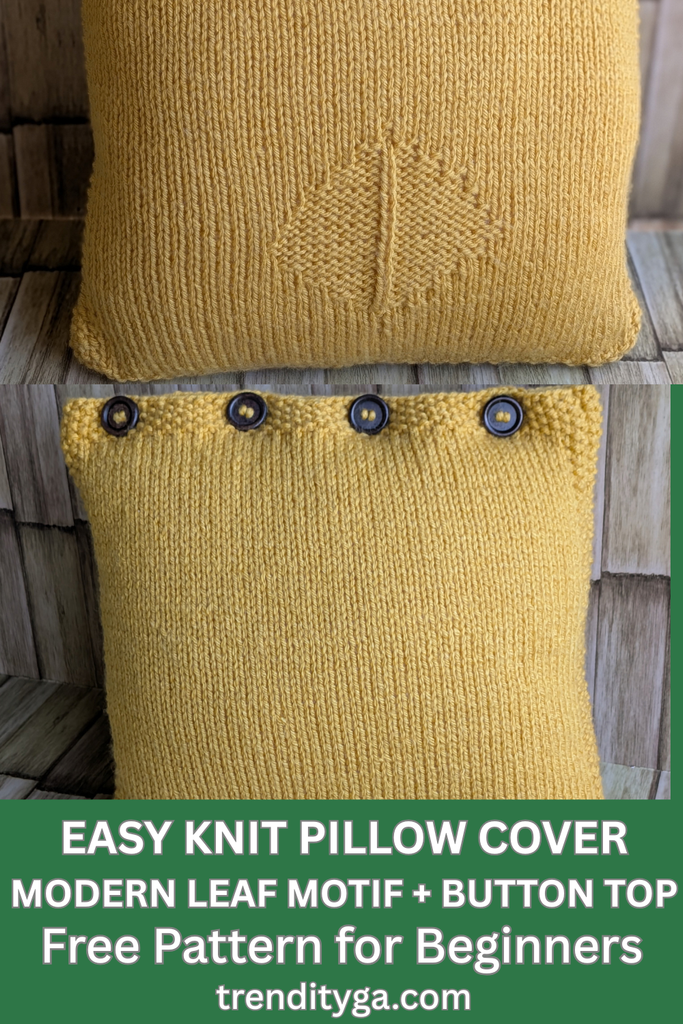
Want to save this pattern for later? Pin this image to your favorite knitting board!
Happy Knitting!