Everyday Comforts Diamond Coaster: An Easy Knit Coaster Pattern for Beginners
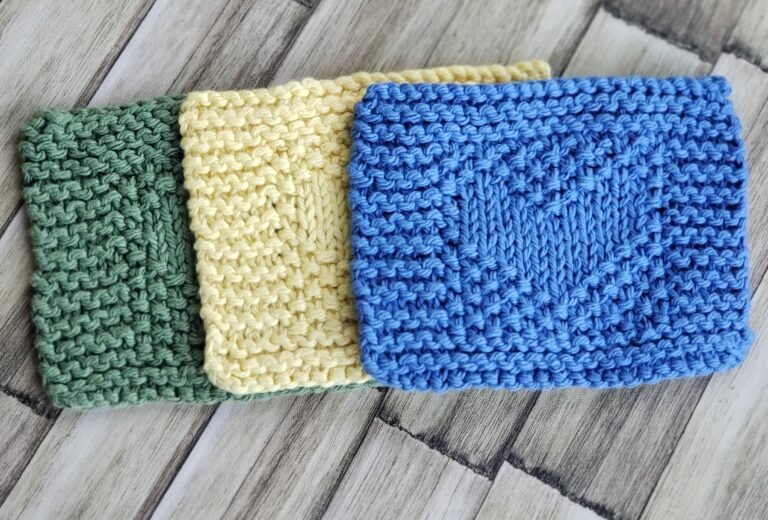
Last week I shared my Heart Coaster pattern, and so many of you told me how much you loved how quick and simple it was to knit. So today I’m back with its diamond sibling — another quick coaster pattern, this time featuring a simple diamond motif instead of a heart.
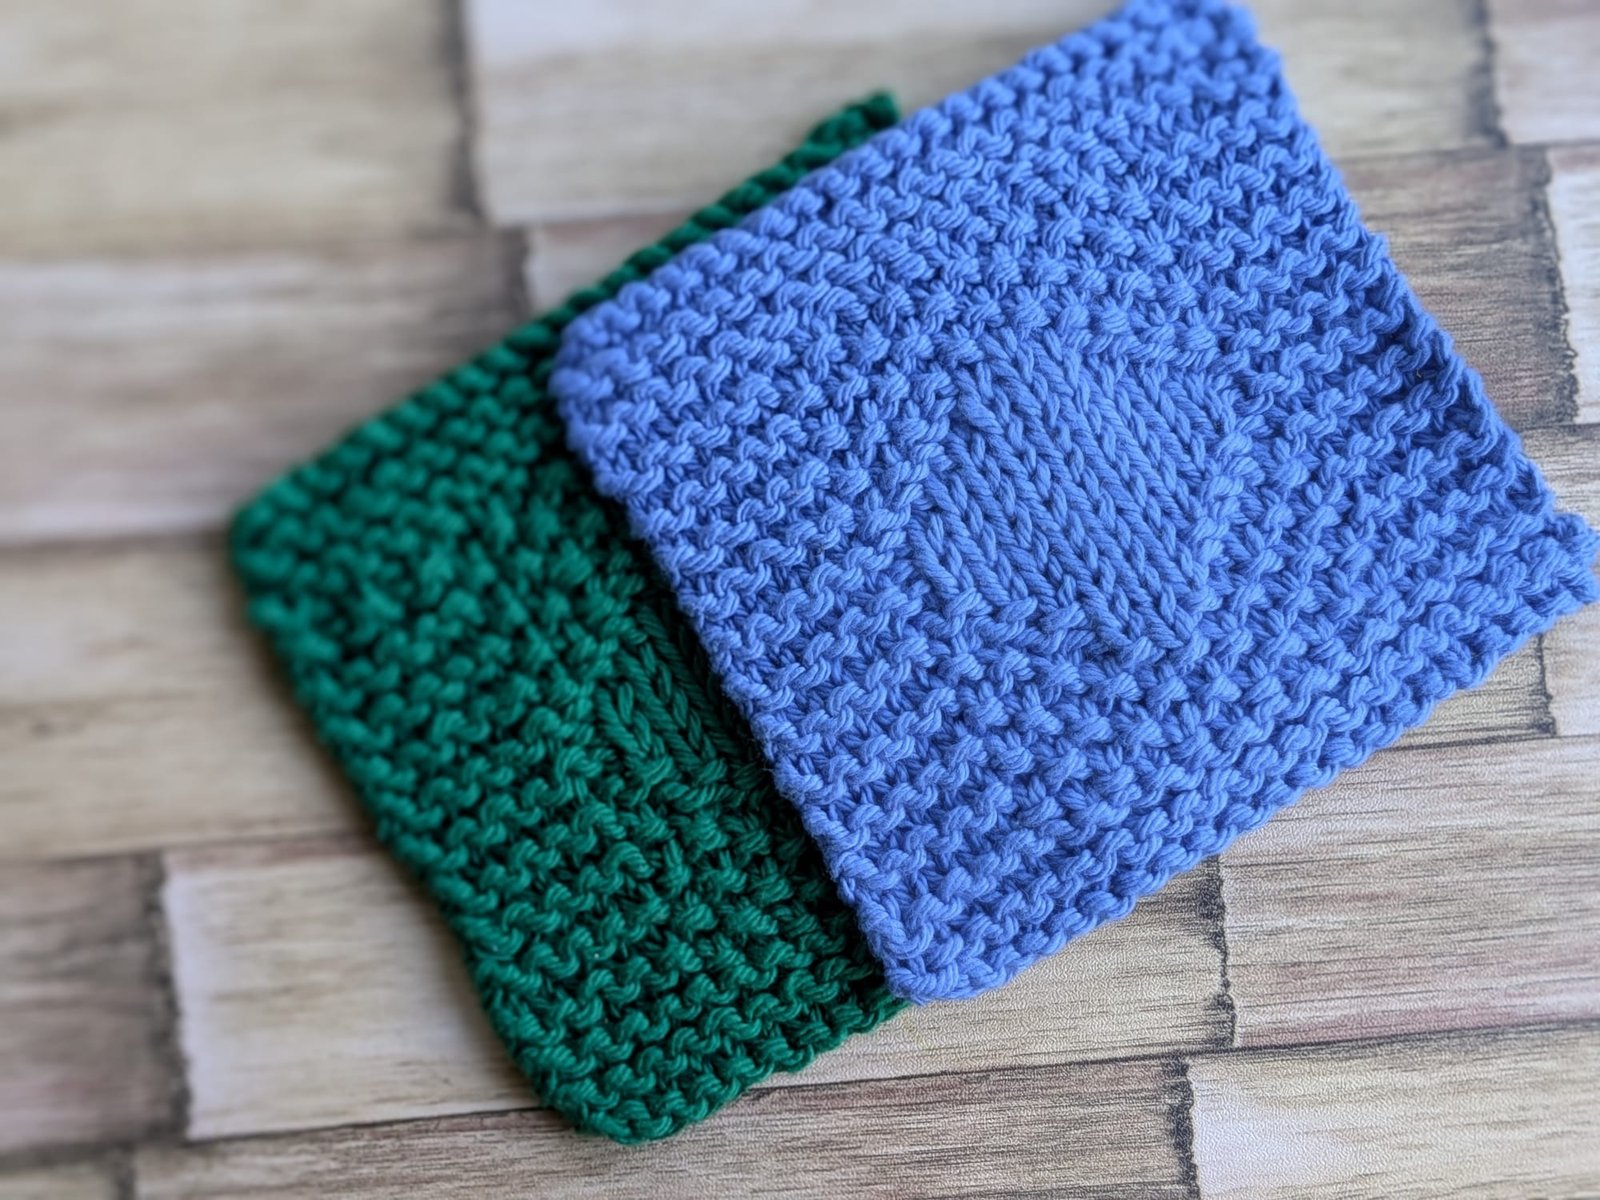
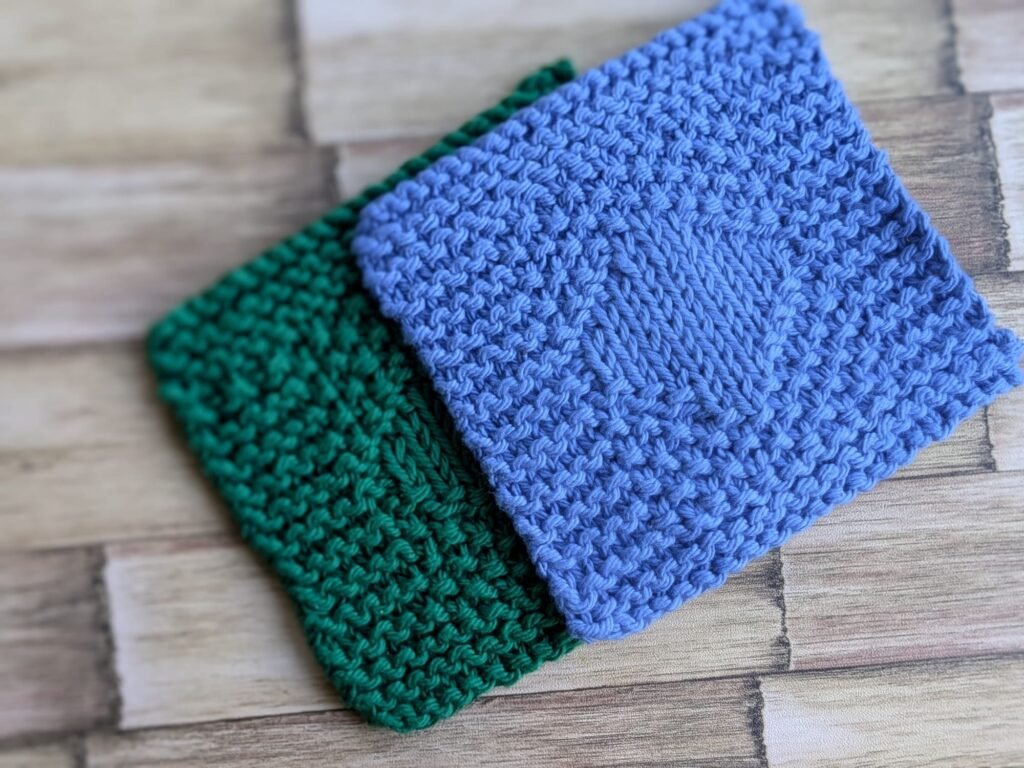
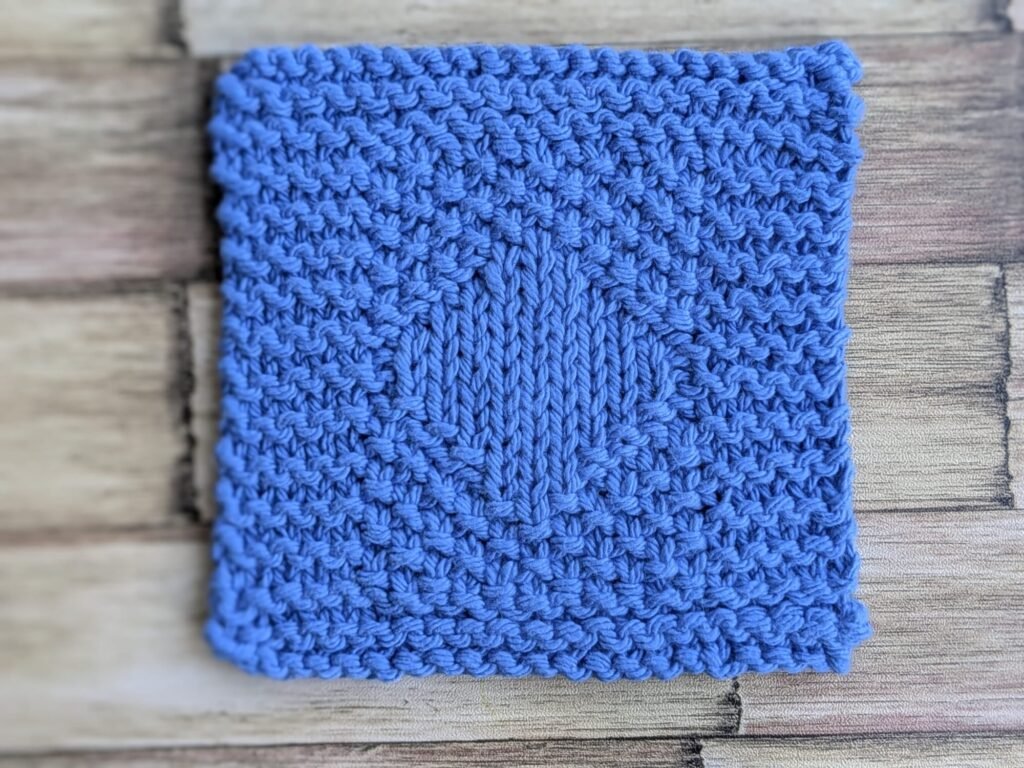
That’s what I love about this Everyday Comforts Diamond Coaster. It combines garter stitch, seed stitch, and a smooth knit diamond to create a coaster with just enough texture to make it interesting without making the pattern feel complicated.
The diamond sits in the center of a seed stitch background, while the garter stitch border gives the coaster a clean frame. The result is a simple, practical knit that works well for everyday use and makes a thoughtful handmade gift.
Because the coaster is small, you can also finish it fairly quickly without committing to a larger knitting project.
📌 Jump straight to the pattern if you’re ready to cast on.
Finished Size
The finished coaster measures approximately 4.75 x 4.75 inches after blocking.
Gauge
18 stitches and 26 rows = 4 inches in seed stitch with a garter stitch border, using US 8 (5mm) needles.
Because this stitch combination can change slightly with blocking, row gauge may read differently before and after blocking. I confirmed the finished measurements after blocking.
If you don’t get this gauge with US 8 (5mm) needles, go up or down a needle size and swatch again. Your gauge can change the proportions of the coaster and the shape of the diamond.
Materials
You don’t need much yarn for this project, which makes it a nice way to use some of the cotton yarn already in your stash.
You’ll need:
- Worsted weight cotton yarn – Sugar ‘n Cream or a similar cotton yarn — approximately 30 yards
- US 8 (5mm) knitting needles, straight or circular
- Tapestry needle for weaving in ends
- Optional stitch markers to help identify the border columns while you’re getting familiar with the pattern
Cotton works especially well for coasters because it’s practical and washable. You can also experiment with different colors to give the diamond more or less contrast visually.
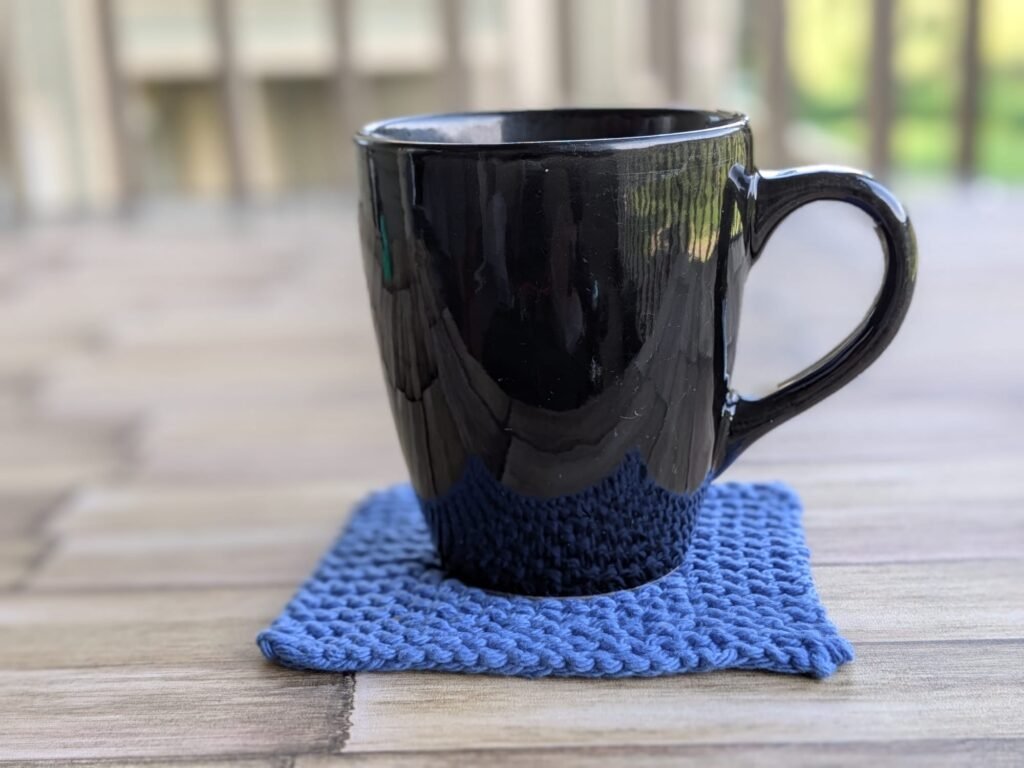
A Look at the Finished Coaster
Sometimes a finished project makes more sense when you can see the details up close and in an everyday setting.
Abbreviations
- K = knit
- P = purl
- RS = right side
- WS = wrong side
- st(s) = stitch(es)
Before You Start
Read each row exactly as written from left to right, whether you’re working a right-side or wrong-side row.
The diamond may not be immediately obvious while you’re working the center rows. Keep following the pattern as written; the shape becomes clearer as you reach its widest point and work back down.
Diamond Coaster Pattern
Cast On
Cast on 21 sts.
Garter Stitch Beginning
Rows 1–4: Knit all stitches.
These first four rows establish the bottom of the garter stitch frame.
Seed Stitch Background and Diamond
Row 5 (RS): K5, P1, K1, P1, K1, P1, K1, P1, K1, P1, K1, P1, K5
Rows 6–9: Same as Row 5.
Row 10 (WS): K5, P1, K1, P1, K1, P3, K1, P1, K1, P1, K5 – (the diamond begins to form here)
Row 11 (RS): K5, P1, K1, P2, K3, P2, K1, P1, K5
Row 12 (WS): K5, P1, K2, P5, K2, P1, K5
Row 13 (RS): K5, P2, K7, P2, K5
Row 14 (WS): K6, P9, K6
Row 15 (RS): K5, P1, K9, P1, K5 – (This is the widest point of the diamond.)
Row 16 (WS): Same as Row 14
Row 17 (RS): Same as Row 13
Row 18 (WS): Same as Row 12
Row 19 (RS): Same as Row 11
Row 20 (WS): Same as Row 10
Row 21 (RS): Same as Row 5
Rows 22–25: Same as Row 5.
Garter Stitch Ending
Rows 26–29: Knit all stitches.
Bind off knitwise.
Weave in your ends.
Finishing the Coaster
Once you’ve finished knitting, weave in your ends securely and give the coaster a light block.
Blocking isn’t absolutely necessary for a coaster, but it helps the seed stitch texture open up and lets the diamond sit flatter.
To block the coaster:
- Pin the coaster to approximately the finished size.
- Lightly mist it with water.
- Let it dry completely while pinned.
- Remove the pins once the coaster is dry.
You don’t need to stretch the piece aggressively. A gentle block is enough to even out the stitches and help the coaster take shape.
Why the Diamond Stands Out
The diamond doesn’t rely on a complicated stitch pattern. It stands out because of the contrast in texture.
The surrounding seed stitch creates a bumpy, textured surface, while the diamond is made with smooth knit stitches. The purl stitches around the diamond create an additional outline that separates the two textures.
That contrast gives the diamond definition without making the design feel too bold. You get a little visual interest while keeping the coaster simple.
A Simple Project With a Handmade Feel
I enjoy knitting projects that are useful but still give you something interesting to look at while you make them.
That’s what makes this coaster enjoyable.
The garter stitch frame gives it structure. The seed stitch adds texture. And the smooth diamond gives the eye somewhere to land.
None of these techniques is complicated on its own, but together they create a finished piece that feels thoughtfully designed.
That’s what makes a handmade item special to me. You don’t need a complicated pattern. Sometimes a few simple stitches, used intentionally, are enough.
If you’re looking for a quick knitting project or a small handmade gift, I hope you enjoy making this coaster as much as I did.
Happy knitting!